Uncovering Hidden Features in 3 Popular Photo Editing Apps: Insider Knowledge for 2026
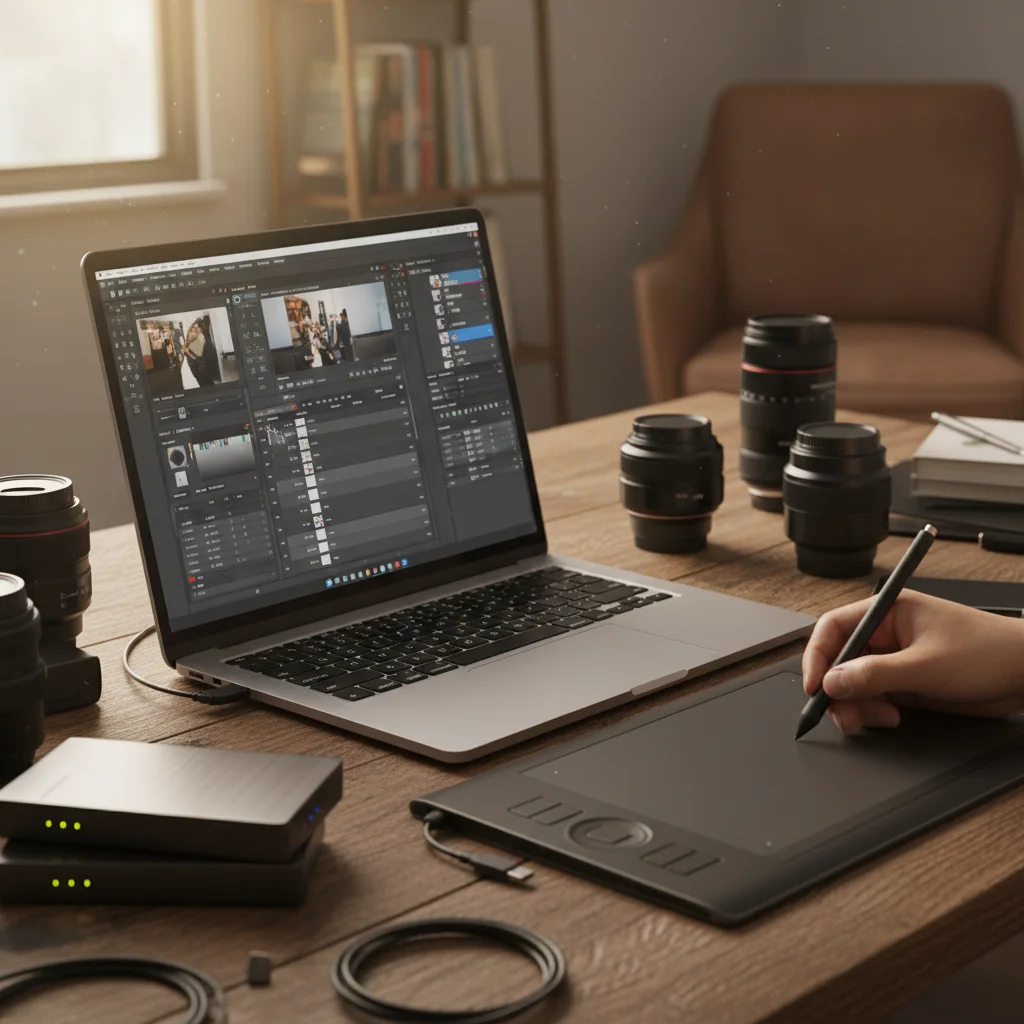
In the rapidly evolving world of digital photography, staying ahead of the curve means not just knowing your way around your favorite photo editing software, but truly mastering it. While many photographers scratch the surface of popular applications like Adobe Lightroom, Photoshop, and Luminar Neo, a treasure trove of powerful, often overlooked functionalities lies beneath. These photo editing hidden features are the secret sauce that can elevate your images from good to unforgettable, streamline your workflow, and unlock creative possibilities you never knew existed. As we look towards 2026, understanding these insider tips becomes even more crucial for photographers aiming for a distinctive edge.
This comprehensive guide delves deep into the less-traveled paths of these three industry-leading applications, revealing their most potent yet underutilized tools. Whether you’re a seasoned professional seeking to optimize your process or an enthusiastic amateur eager to push your creative boundaries, prepare to uncover capabilities that will transform your approach to post-processing. We’ll explore everything from advanced masking techniques to AI-powered enhancements that can save you hours of manual work, ensuring your photography stands out in a crowded digital landscape.
Adobe Lightroom: Beyond the Basic Sliders
Adobe Lightroom has long been the go-to for photographers seeking an intuitive yet powerful cataloging and raw processing tool. While its basic sliders are incredibly effective, many advanced capabilities often go unnoticed. Mastering these photo editing hidden features in Lightroom can dramatically improve your color grading, local adjustments, and overall image quality.
1. The Power of Profile Browser & Amount Slider
Most users are familiar with the basic profiles in Lightroom, but the ‘Profile Browser’ (found under the Basic panel) offers a vast array of artistic and modern profiles that go far beyond the standard ‘Adobe Color’ or ‘Adobe Standard’. What’s more, each of these profiles comes with an ‘Amount’ slider, allowing you to dial in the intensity from 0% to 200%. This provides incredible flexibility, letting you apply subtle stylistic changes or bold artistic effects without touching individual sliders. Experiment with different profiles and adjust their intensity to find unique looks for your images. This is a game-changer for establishing a consistent aesthetic across your portfolio.
2. Advanced Color Grading with the Color Mixer (HSL/Color) Panel
While the ‘Color Grading’ panel is relatively new and powerful, don’t underestimate the ‘Color Mixer’ (formerly HSL/Color). Its true power lies in its ability to target specific color ranges with incredible precision. Instead of globally adjusting saturation or luminance, you can use the targeted adjustment tool (the circular icon with two arrows) to click and drag directly on a color in your image. Lightroom will then identify that specific hue and allow you to adjust its hue, saturation, or luminance without affecting other colors. This precision is invaluable for fine-tuning skin tones, enhancing skies, or making foliage pop without overdoing it.
3. Customizing & Saving Local Adjustment Brushes
Local adjustments (Brush, Radial Filter, Graduated Filter) are fundamental to Lightroom, but did you know you can save custom brush presets? If you frequently use a specific combination of exposure, contrast, clarity, and sharpness for dodging and burning, or for eye enhancements, create a preset! After making your adjustments with the brush, click the ‘Effect:’ dropdown at the top of the local adjustment panel and choose ‘Save Current Settings as New Preset’. This saves immense time and ensures consistency across similar edits, making it one of the most efficient photo editing hidden features.
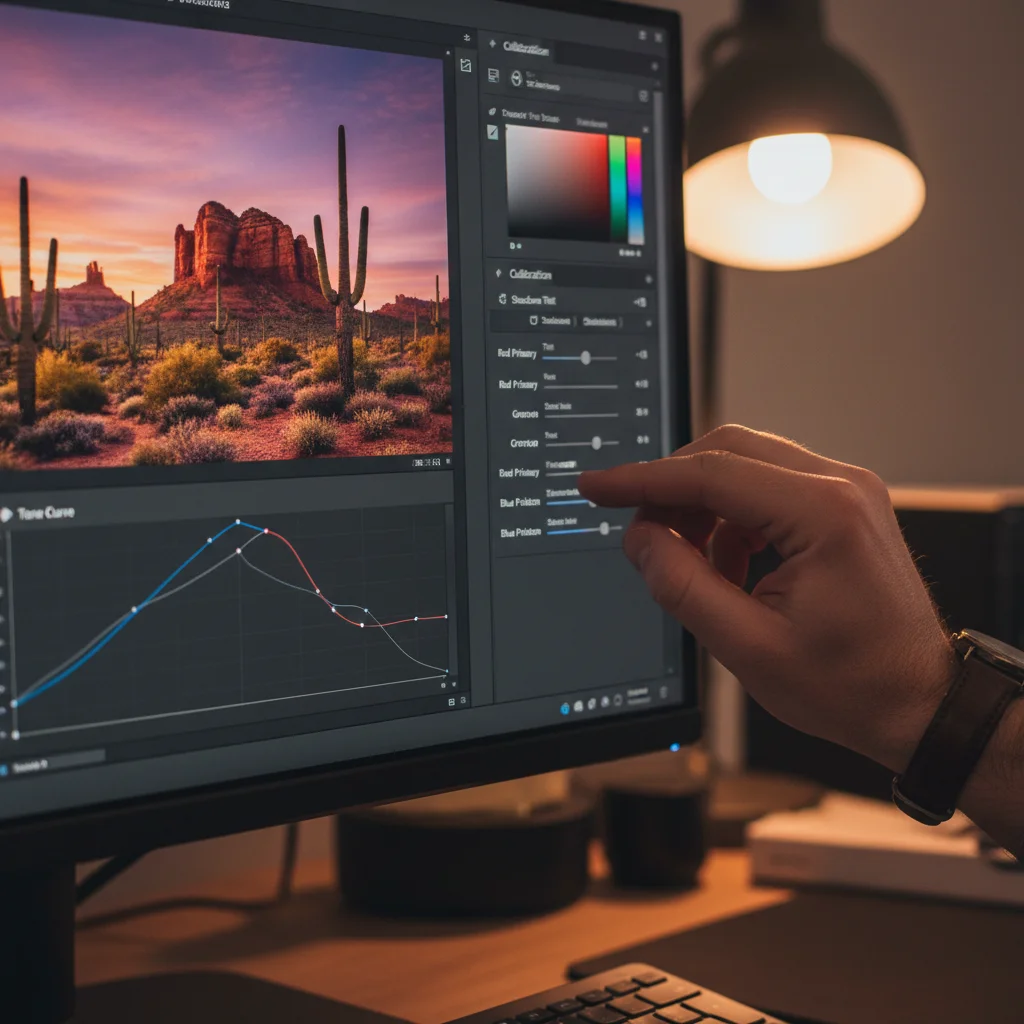
4. Camera Calibration Panel: The Ultimate Color Control
Nestled at the bottom of the Develop module, the ‘Camera Calibration’ panel is often overlooked, yet it offers the most fundamental control over how Lightroom interprets your camera’s RAW data. Adjusting the ‘Red Primary’, ‘Green Primary’, and ‘Blue Primary’ hues and saturations here can subtly shift the entire color palette of your image. For example, tweaking the ‘Blue Primary’ hue can influence sky colors, water, and even skin tones in surprising ways. This panel is where many professional color graders start, as it sets the foundational color interpretation before any other adjustments are made. It’s a powerful tool for correcting color casts or establishing a unique color grading style.
5. Reference View for Consistent Editing
When you’re trying to match the look of one image to another, or maintain consistency across a series, the ‘Reference View’ (R key in Develop module) is your best friend. It allows you to place a reference image on the left and your current editing image on the right. This side-by-side comparison makes it incredibly easy to match white balance, exposure, and color grading, ensuring a cohesive feel across your work. This is particularly useful for wedding photographers, event photographers, or anyone creating a series of images that need a unified aesthetic.
Adobe Photoshop: Unlocking Advanced Creative Potential
Photoshop is the undisputed king of image manipulation, but its vast array of tools means many powerful functionalities remain hidden in plain sight. These photo editing hidden features in Photoshop can revolutionize your retouching, compositing, and creative workflow.
1. The "Apply Image" Command for Advanced Blending & Masking
Often buried in the "Image" menu, the "Apply Image" command is a powerhouse for advanced blending modes, luminosity masks, and complex selections. It allows you to combine an image or a channel from one layer with another layer or channel using various blending modes, without flattening layers. For example, you can use a channel (like the Blue channel for skies) as a mask for another layer, creating incredibly precise selections based on luminosity. This is far more sophisticated than traditional masking and opens up a world of creative compositing possibilities. Mastering "Apply Image" is a hallmark of advanced Photoshop users.
2. Smart Objects: Non-Destructive Everything
While many users are familiar with Smart Objects, their full potential as a photo editing hidden feature is often underestimated. Beyond simply preserving original image data, Smart Objects allow you to apply filters, transformations, and even other Smart Objects non-destructively. This means you can change filter settings at any time, scale down and then scale back up without quality loss, and even replace the contents of a Smart Object with a different image while retaining all applied effects. For complex composites or detailed retouching, working with Smart Objects is the ultimate safeguard for your edits, allowing for endless revisions without commitment.
3. The "Blend If" Sliders in Layer Styles
Open the Layer Style dialog for any layer (double-click the layer thumbnail or go to Layer > Layer Style > Blending Options). At the very bottom, you’ll find the "Blend If" sliders for "This Layer" and "Underlying Layer." These sliders allow you to selectively hide or reveal parts of a layer based on the luminosity values of either the current layer or the layers below it. By splitting the slider (Alt/Option + drag), you can create smooth transitions that blend seamlessly into your image. This is an incredibly powerful tool for integrating textures, adding subtle light effects, or blending complex composites without needing intricate masks. It’s fantastic for making elements appear to naturally interact with the lighting of the background.
4. Advanced Healing and Content-Aware Fill Options
Everyone knows the Spot Healing Brush and Content-Aware Fill, but have you explored their advanced settings? When using Content-Aware Fill (Edit > Content-Aware Fill), don’t just hit "OK." Instead, use the workspace to refine the sampling area, ensuring Photoshop only pulls pixels from relevant parts of your image. For the Healing Brush Tool and Patch Tool, try changing the "Source" to "Pattern" for creative texture fills, or use "Diffusion" to control how quickly the pasted pixels blend. These subtle controls can make the difference between a passable repair and an invisible one, significantly improving your retouching results.
5. Custom Keyboard Shortcuts & Actions for Workflow Optimization
Photoshop’s extensibility is one of its greatest strengths. Going to Edit > Keyboard Shortcuts allows you to customize virtually every command, tool, and menu item. Assigning shortcuts to frequently used but unassigned commands can drastically speed up your workflow. Even more powerful are "Actions" (Window > Actions). Record a series of steps you perform repeatedly (e.g., resizing for web, applying a specific dodge and burn technique, preparing layers for frequency separation). Once recorded, you can play back the entire sequence with a single click or a custom keyboard shortcut, automating tedious tasks and freeing up time for creative decisions. This is an essential photo editing hidden feature for any serious Photoshop user.
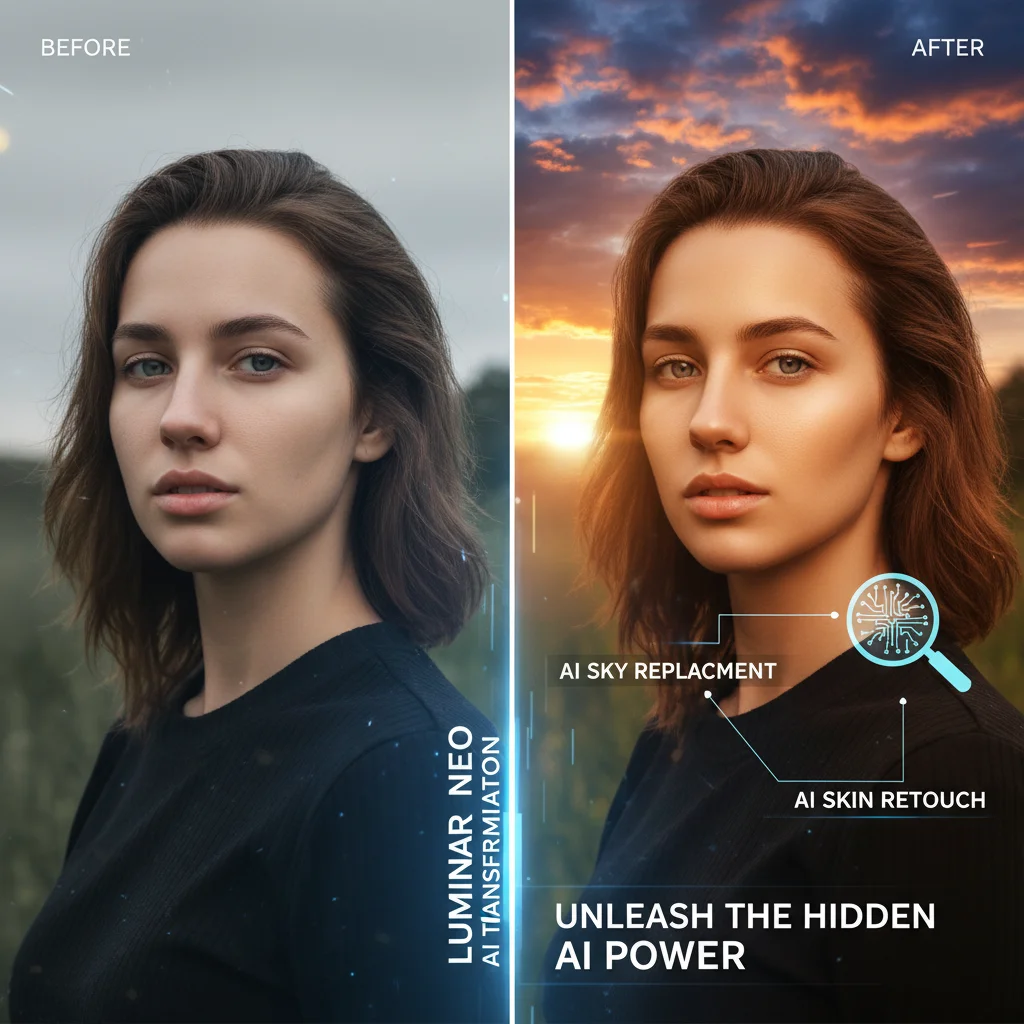
Luminar Neo: Harnessing AI for Creative Breakthroughs
Luminar Neo has quickly carved out a niche with its innovative, AI-powered editing tools, promising to simplify complex tasks. While its headline features like Sky AI are well-known, several less-publicized capabilities offer incredible creative potential and workflow efficiencies, positioning them as key photo editing hidden features for 2026.
1. Relight AI & Depth Mapping for Dynamic Lighting
Relight AI is more than just a simple brightness adjustment. It intelligently analyzes the depth of your image and allows you to independently adjust the brightness and warmth of the foreground and background. This means you can subtly brighten a subject’s face while keeping the background balanced, or add a warm glow to the background to simulate golden hour light, all without complex masking. The underlying depth map Luminar Neo generates is incredibly powerful and offers a level of lighting control previously only possible with intricate manual work in Photoshop. Experiment with the ‘Brightness Near’, ‘Brightness Far’, ‘Warmth Near’, and ‘Warmth Far’ sliders to create dynamic and natural-looking light shifts.
2. Mask AI: Precision with a Single Click
While many are familiar with Luminar Neo’s AI masking capabilities (e.g., selecting sky, person, building), the true power of Mask AI lies in its ability to generate masks for multiple elements simultaneously. After running Mask AI, you’ll see a list of detected objects. You can then select multiple elements (e.g., ‘Human’ and ‘Ground’) and combine them into a single mask for an adjustment layer. This allows for incredibly precise and complex selections with minimal effort, far surpassing traditional brushing for many scenarios. It’s a significant time-saver for selective adjustments and compositing.
3. The "Details" Tool: Beyond Simple Sharpening
The ‘Details’ tool in Luminar Neo offers more than just global sharpening. It has separate sliders for ‘Small Details’, ‘Medium Details’, and ‘Large Details’, each with its own ‘Sharpen’ and ‘Masking’ controls. This granular control allows you to enhance texture without introducing artifacts or over-sharpening smooth areas. For instance, you can boost ‘Small Details’ to bring out fine textures in fabric or skin, while leaving ‘Large Details’ untouched to avoid harsh edges. The ‘Masking’ slider for each detail level helps protect smooth areas, making your sharpening look incredibly natural. This level of detail control is a crucial photo editing hidden feature for achieving polished results.
4. Mood Tool & LUT Mapping: Creative Color Grading
The ‘Mood’ tool in Luminar Neo isn’t just about applying presets; it’s a powerful LUT (Look-Up Table) mapping engine. While Luminar Neo comes with many built-in LUTs, you can also import custom LUTs from various sources, dramatically expanding your color grading options. Furthermore, the ‘Amount’ slider allows you to blend the LUT effect, and the ‘Contrast’ and ‘Saturation’ sliders within the Mood tool provide additional control over the applied look. This makes the Mood tool a highly versatile option for establishing cinematic looks, vintage aesthetics, or unique color palettes with ease. It’s a quick way to achieve complex color shifts that would take many steps in other editors.
5. Extensions: Expanding Luminar Neo’s Capabilities
Luminar Neo’s architecture allows for "Extensions," which are modular add-ons that expand its core functionality. While some are more visible, keep an eye on the "Extensions" tab. Tools like ‘Supersharp AI’ for motion blur correction, ‘Upscale AI’ for resolution enhancement, and ‘Focus Stacking’ for increased depth of field are often overlooked but incredibly powerful. These extensions can solve specific photographic challenges with AI precision, providing capabilities that were previously complex or required multiple software applications. Regularly checking for new extensions can unlock game-changing photo editing hidden features.
Integrating Hidden Features into Your Workflow for 2026
Discovering these photo editing hidden features is only the first step. The true power lies in integrating them seamlessly into your existing workflow. Here’s how to do it effectively in 2026:
Experimentation is Key
Don’t be afraid to click on every button, explore every menu, and drag every slider. Many of these features are discovered through curiosity. Create duplicate layers or virtual copies (in Lightroom) to experiment non-destructively. The more you play, the more you’ll understand what each tool does and how it can benefit your specific style of photography.
Practice, Practice, Practice
Like any skill, mastering these advanced techniques requires practice. Dedicate specific editing sessions to focusing on one new hidden feature. For example, spend an hour just using "Apply Image" in Photoshop or refining your color grading with the Camera Calibration panel in Lightroom. The more you use them, the more intuitive they become.
Create Custom Presets and Actions
Once you find a combination of hidden features that works well for you, save it! Custom Lightroom presets, Photoshop actions, and Luminar Neo templates can save you countless hours. Automate repetitive tasks so you can spend more time on the creative aspects of your editing.
Stay Updated
Software evolves rapidly. Developers frequently add new features and refine existing ones. Keep your applications updated and periodically check release notes or tutorials from the software providers. What might be a hidden feature today could become a mainstream tool tomorrow, or a new hidden gem could be introduced in an update.
Learn from Others
Follow professional photographers and educators who specialize in these applications. Many share their workflow secrets and advanced techniques on platforms like YouTube, photography blogs, and online courses. Seeing how others utilize these photo editing hidden features can spark new ideas and provide valuable insights.
The Future of Photo Editing: AI and Beyond
As we move further into 2026, the trend towards AI-powered assistance in photo editing will only accelerate. Luminar Neo is at the forefront of this, but Adobe is also rapidly integrating AI (Adobe Sensei) into its Creative Cloud suite. Understanding the underlying principles of how these AI tools function – often by analyzing depth, color, and object recognition – will allow you to leverage their hidden capabilities more effectively. The future of photography lies not in replacing human creativity with AI, but in augmenting it, allowing photographers to focus on their artistic vision while AI handles the more laborious, technical aspects.
These photo editing hidden features are not just about making your images look better; they’re about empowering you as a photographer. They offer avenues for greater creative expression, more efficient workflows, and a deeper understanding of the post-processing craft. By venturing beyond the common functionalities of Adobe Lightroom, Photoshop, and Luminar Neo, you unlock a competitive advantage and ensure your work remains fresh, innovative, and impactful in the years to come. So, open up your preferred editor, start exploring, and prepare to be amazed by what you discover.
Conclusion: Master Your Tools, Master Your Craft
In conclusion, the journey to becoming a truly masterful photo editor involves continuously seeking out and understanding the full spectrum of tools at your disposal. This exploration of photo editing hidden features within Adobe Lightroom, Photoshop, and Luminar Neo highlights that even the most popular software holds secrets that can redefine your capabilities. From Lightroom’s precise color calibration and reference views to Photoshop’s "Apply Image" and "Blend If" functionalities, and Luminar Neo’s intelligent Relight AI and Mask AI, these are the advanced techniques that distinguish skilled practitioners.
Embracing these lesser-known functions will not only enhance the aesthetic quality of your photographs but also significantly streamline your editing process. In an industry where efficiency and uniqueness are highly valued, leveraging these insider tips is paramount. As 2026 unfolds, the photographers who take the time to delve into these powerful, often-overlooked capabilities will be the ones who produce truly exceptional and distinctive work. So, take the challenge, experiment with these hidden gems, and watch as your creative potential in photo editing reaches new heights. Your images—and your workflow—will thank you for it.


